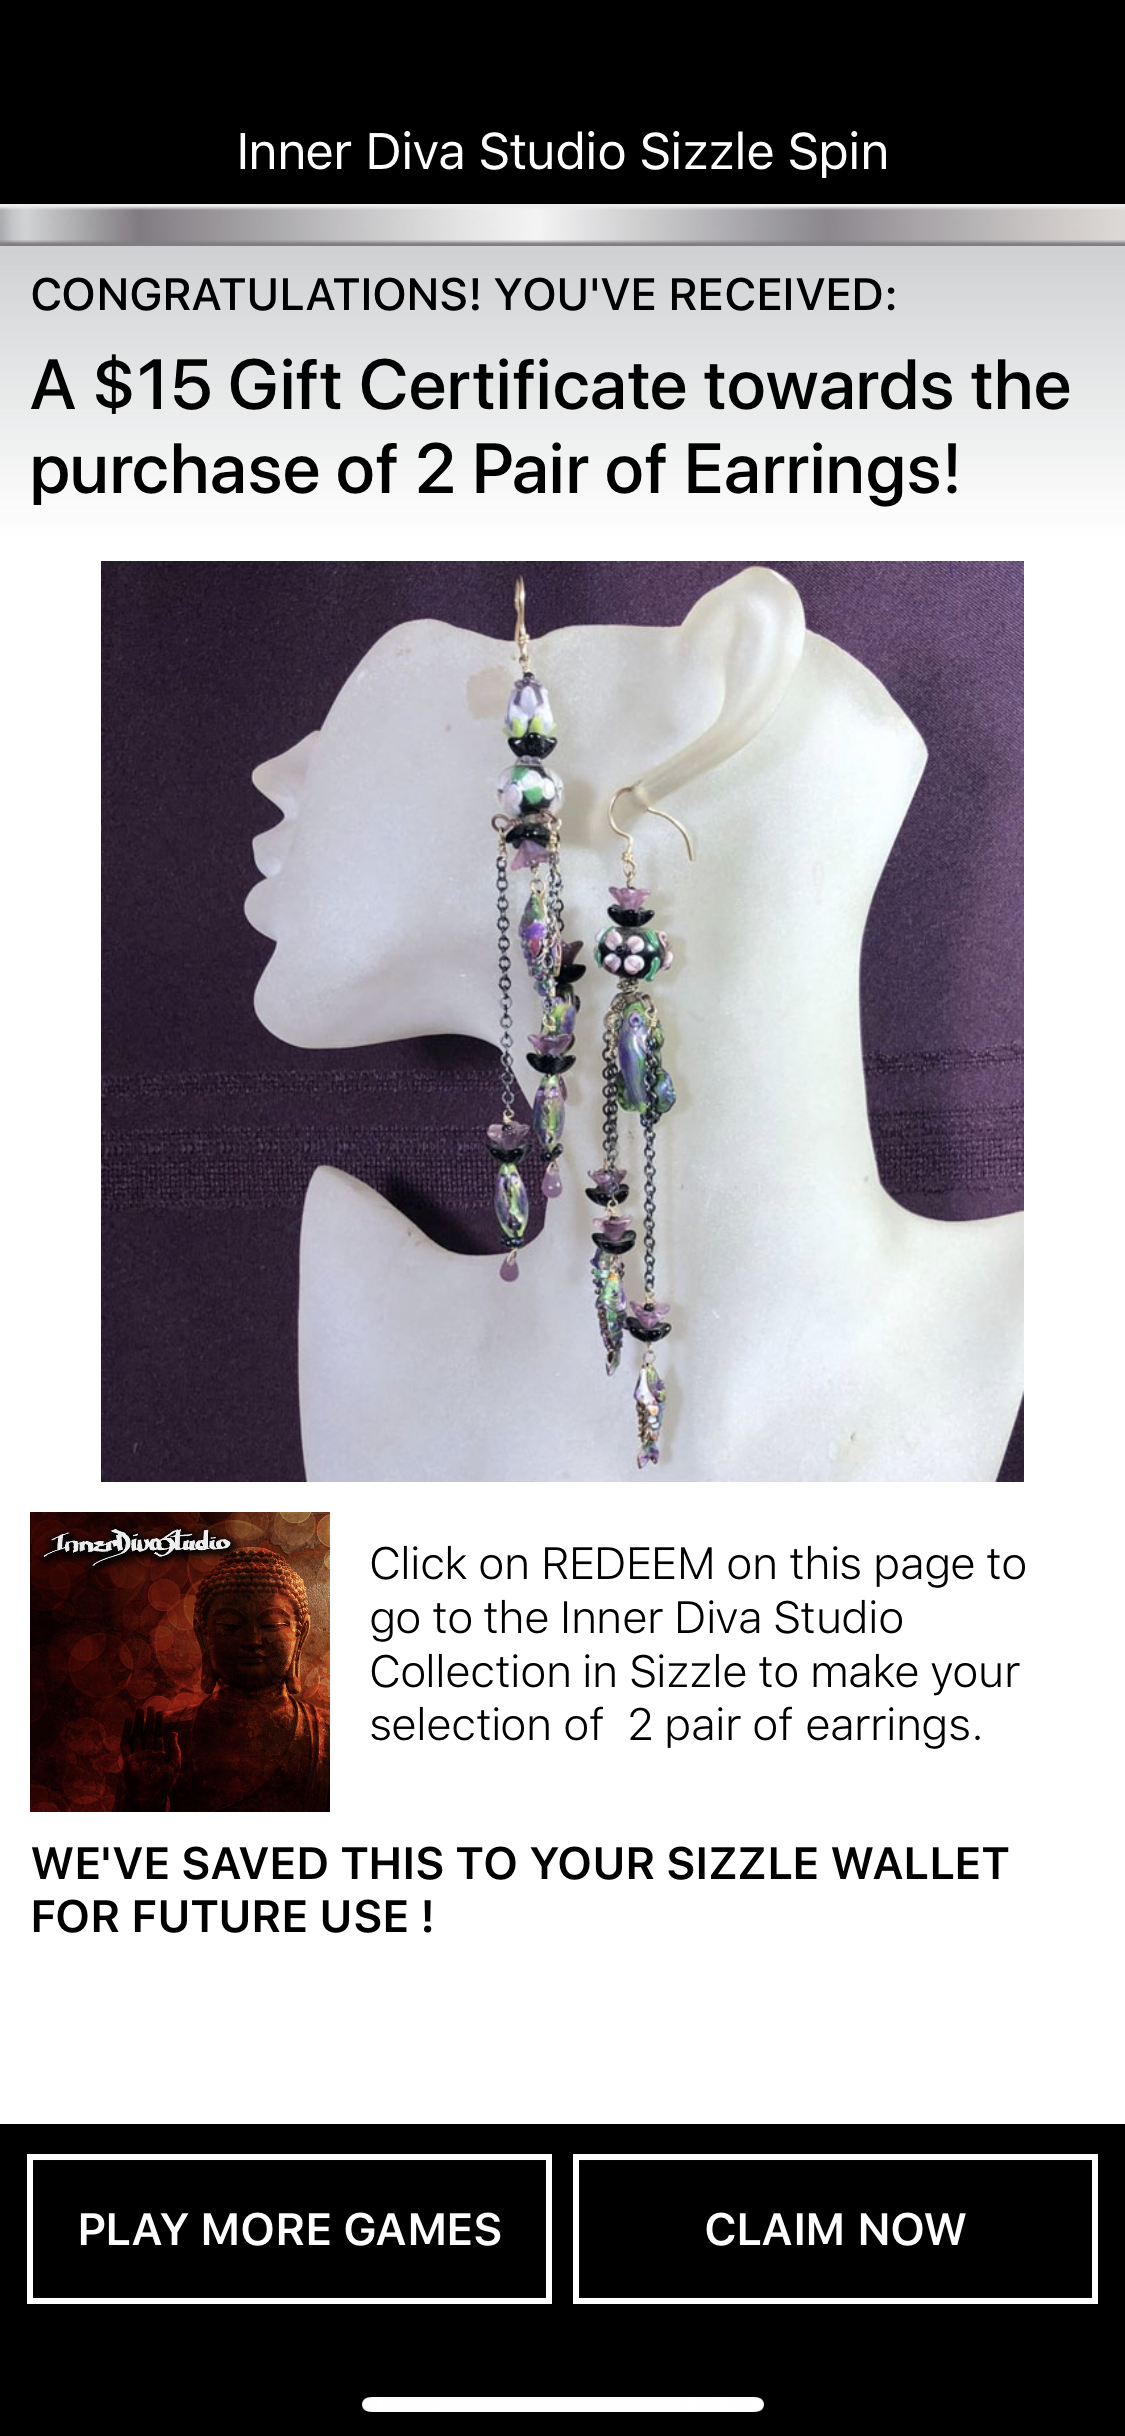
Offers are the heartbeat of Sizzle. An offer is the way your company engages with a user. For this reason, it’s important to create a good user experience.
Creating an offer
To create an offer, click the button for creating an offer. This creates the offer immediately. If you create an offer and then leave, you will want to edit that offer when you return instead of creating a new one.
Enter the necessary information into the Offer details screen. The main points are described below.
1When do you want the offer to run?
Select the start date/time and end date/time. This will control when the offer is available. If the offer is not available when the user tries to view it, they will be presented with an error.
2Select your target (currently labeled “Marker”)
These are the visual identifiers that a user will scan with their phone.
- To add a new target, click the Upload New Target button. You may either select files, or drag and drop files into the upload window. Click to start the upload. When the uploads are finished, close the upload window. The most recently uploaded target will now be selected.
- To choose from existing targets, simply click on the target you would like to use. (See the Targets section below for more information.)
3Select your display method
You can choose how you would like to display your offer to the user. You can show a video and then take them to a URL upon click, or you can take them directly to a URL. Choosing your desired method determines the next step.
4Setting up your video (Video Display Type)
If you choose to show a video after a user scans a target, they are presented with a video presentation. This presentation consists of a background (must be set for landscape and portrait modes), and a video that plays automatically.
- Choose your backgrounds and your video. If you would like to upload new files, click the appropriate button and upload the desired files. (See the Photos and Videos sections below for more information.)
- You may preview your video presentation by clicking the Preview My Video button. You may rotate the view to see the presentation in landscape or portrait mode.
5Setting your display URL (URL Display Type)
If you choose to show a URL instead of a video, the URL will be shown immediately upon a successful scan of the target. Enter the desired URL into the field.
6Endpoint
The endpoint URL is where the user should be taken to when they click the Buy button.
7Tracking pixel
This is the 3rd party tracking pixel to load with the offer. This is not required.
Because each offer has its own analytics, it’s important to not reuse an offer multiple times. Otherwise the analytics will not be accurate to the campaign. If you would like to reuse a target, create a new offer.
A target must be unique for scanning purposes, so it should only exist one time within the system. There should only be one offer using a target at any given time. The most recent offer using a particular target will be shown to the user. To prevent gaps in offer availability, a slight overlap (up to an hour) may be acceptable.