To create a SizzleFX, you begin by clicking on the SizzleFX tab on the left control panel.
- Click the CREATE A SIZZLEFX button.
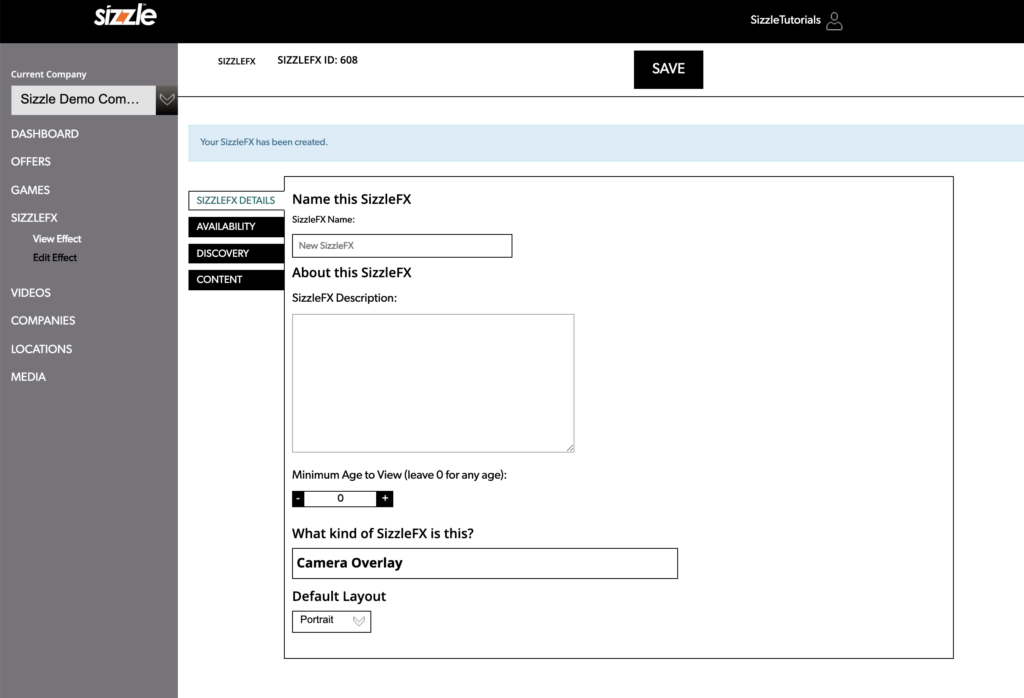
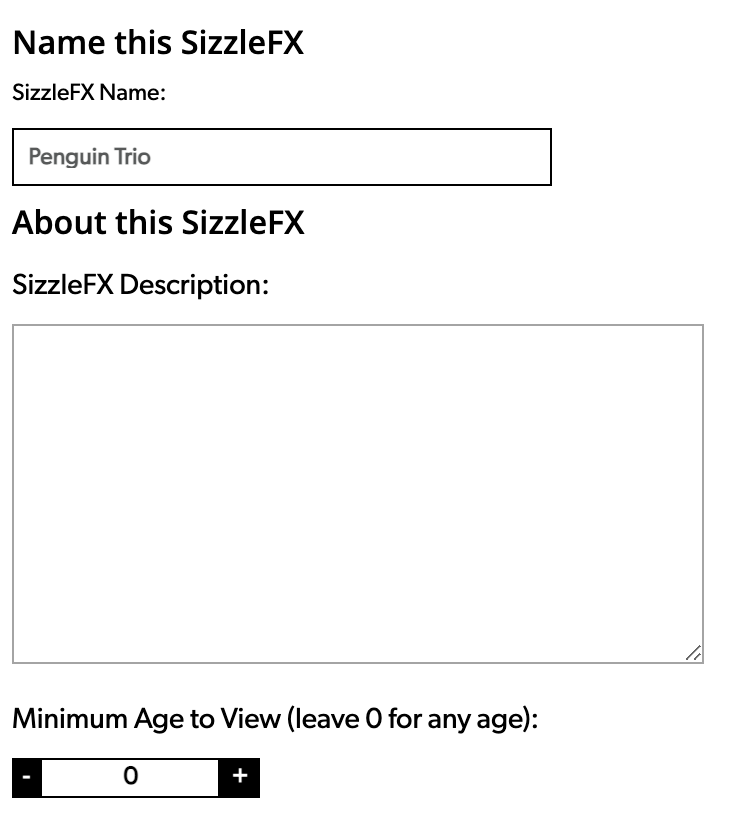
2. Name your SizzleFX.
3. Add up to 3 short paragraphs for your SizzleFX Description (optional)
4. Insert Minimum Age to View. Leave 0 for any age.
5. What kind of SizzleFX is this? Mixed is the choice for most SizzleFX. Face attachment is only for masks that attach to the face.

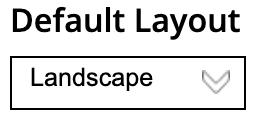
6. Default Layout. Choose either Landscape or Portrait for your SizzleFX orientation.
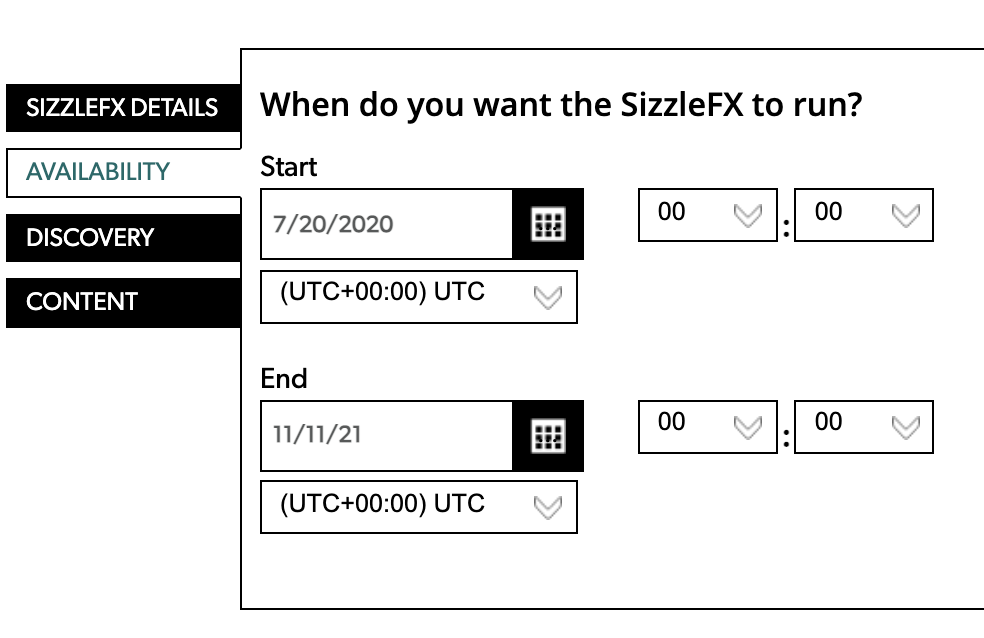
7. The click the AVAILABILITY tab.
Fill in the date and time for the start and end of your promotion.
8. Click the DISCOVERY tab.
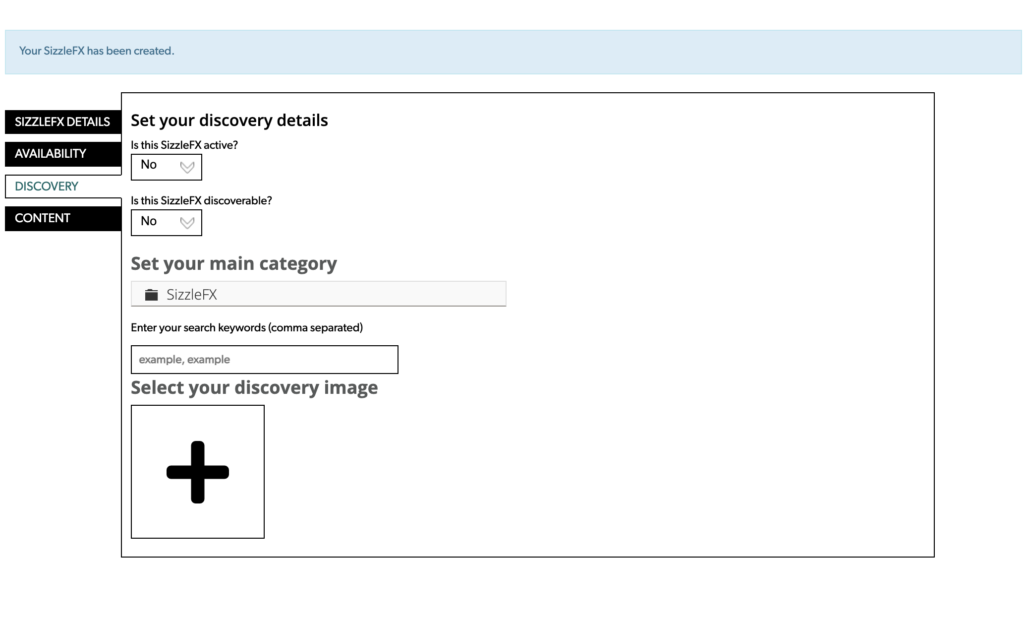
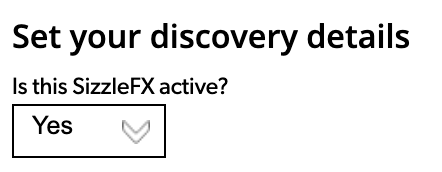
9. Set your Discovery Details. Is this SizzleFX active. Yes allows the SizzleFX to work as long as it is being accessed during the period between the Start and End date and times set above. If you need to turn off your SizzleFX instantly, this active function is your on/off switch. Choosing No makes the SizzleFX inaccessible in the app if you ALSO turn off the Discoverable switch below.
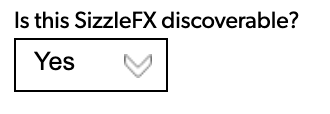
10. Is this SizzleFX discoverable? Yes allows your SizzleFX to be found in Sizzle Search functions on the app. No will take your SizzleFX out of the search index.
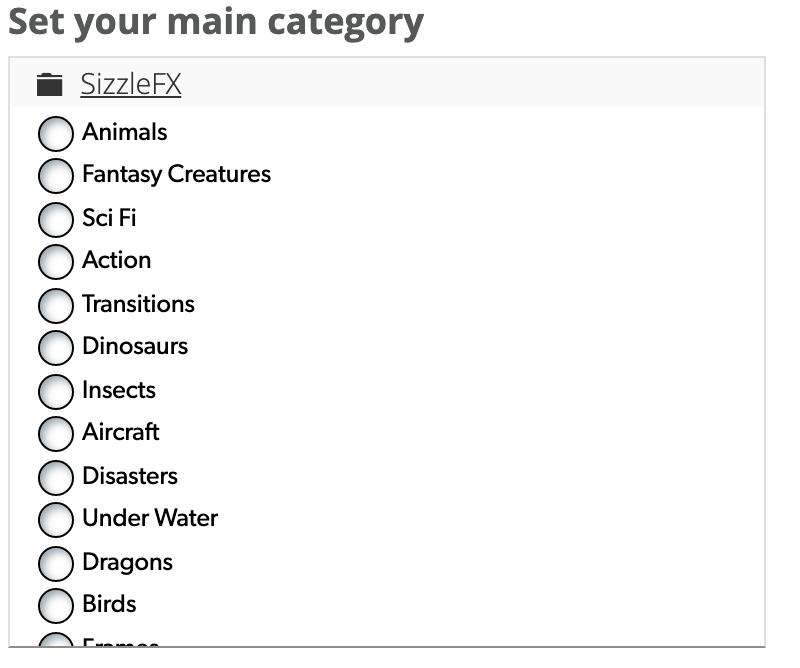
11. Set your main category. Here is where you may sort a series of SizzleFX to the specific categories you wish to present them in. Here is an example:
12. Enter your search keywords, comma separated here. You may enter up to three search words or phrases
13. Then upload your discovery image. Your discovery image should be 1000 px x 562 px jpg format.

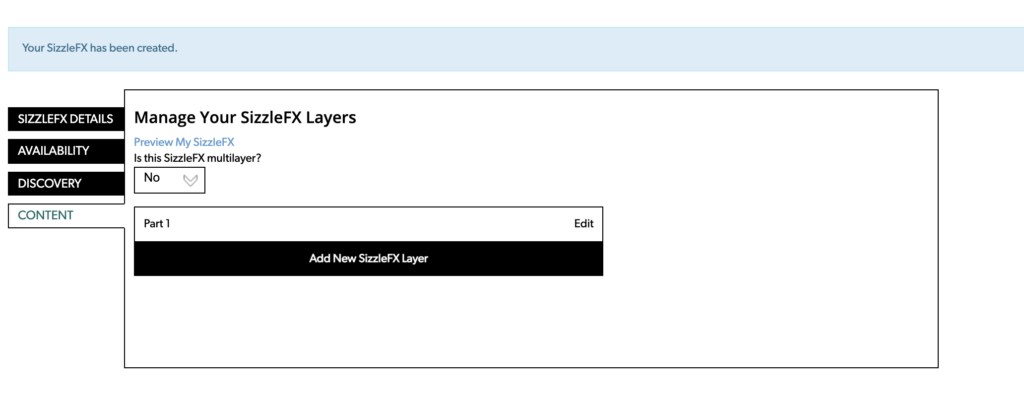
14. Click on the CONTENT tab. Then click on Add New SizzleFX Layer.
Is this SizzleFX multilayer? Yes allows you to place more than one layer or model into the scene. No allows only a single layer SizzleFX to play. In this demo we will choose No.
16. Then click on Part 1
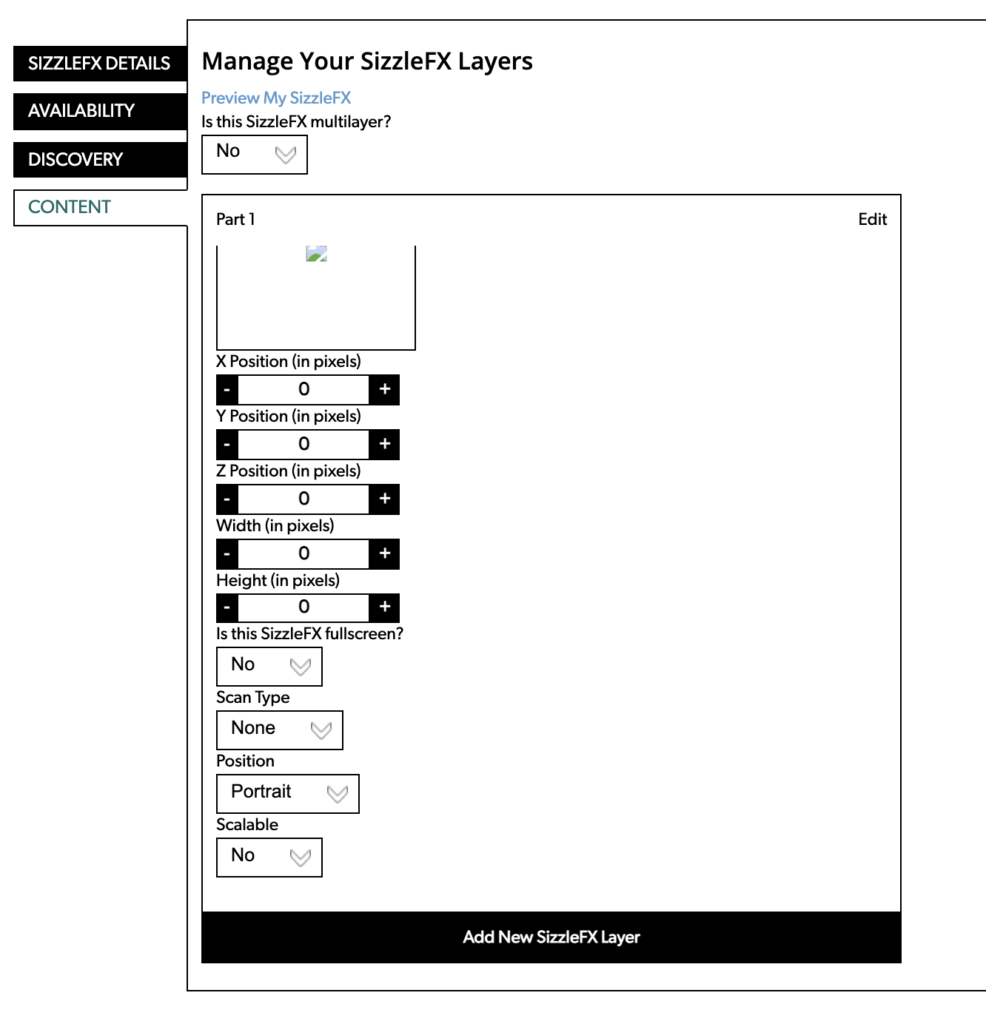
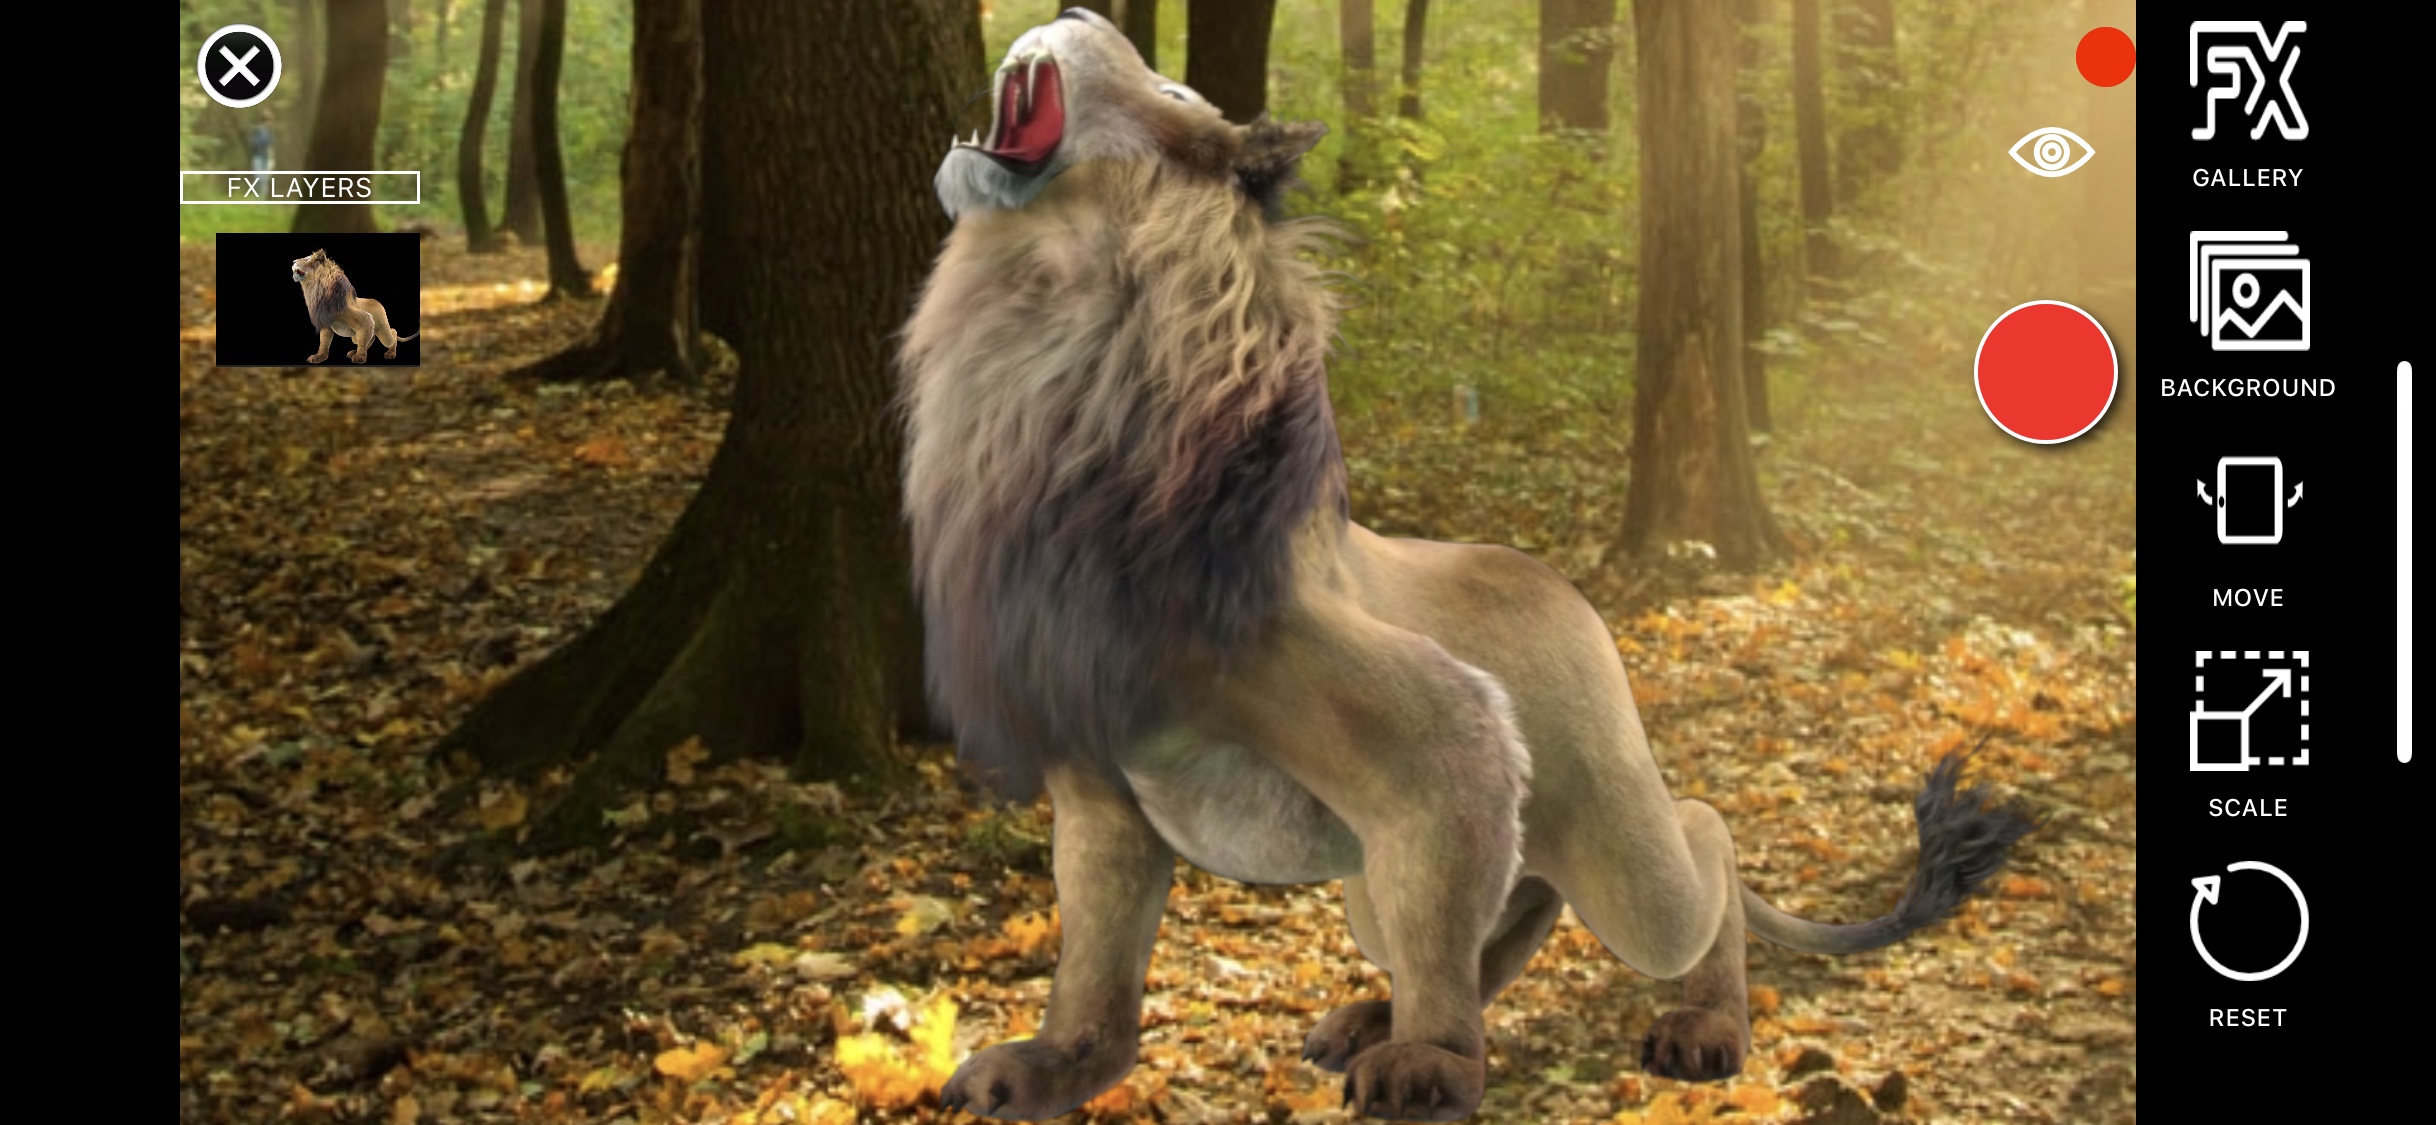
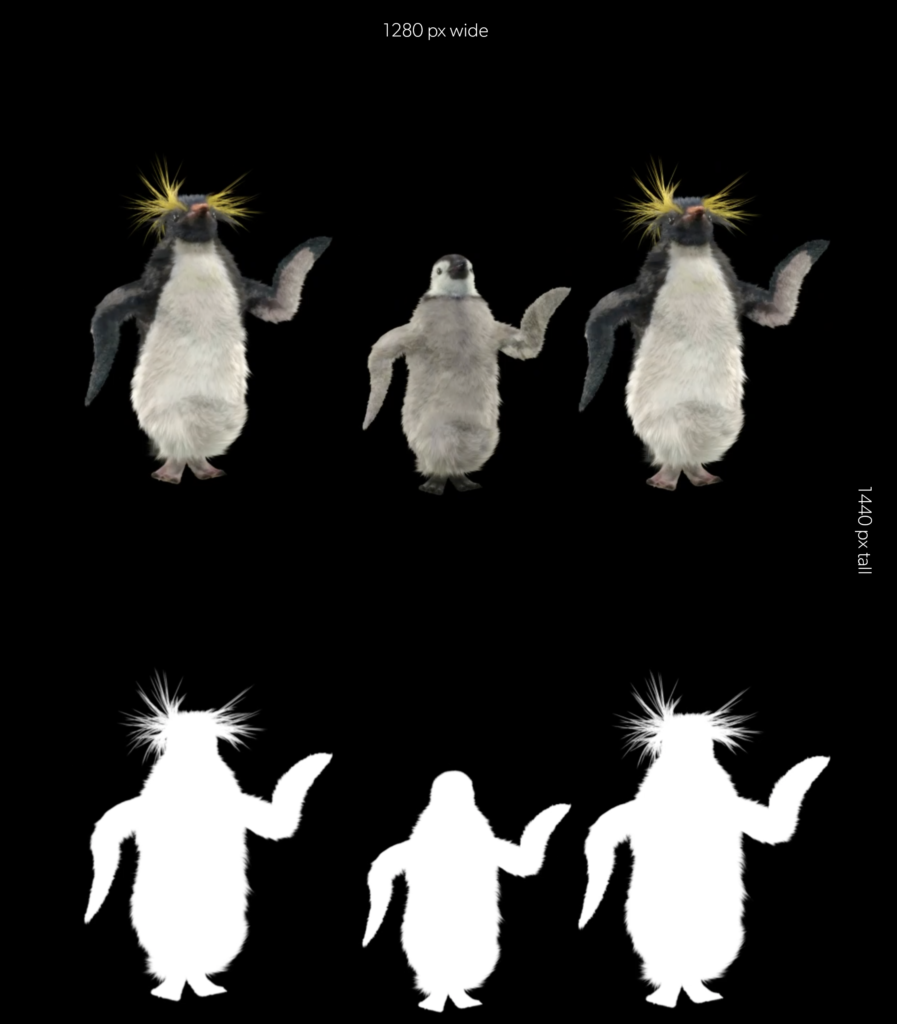
15. Select a file for object 1. Please be very thorough in following the Tutorial for creating SizzleFX elements here before you upload your file. If you have not done this, save your current project and follow the tutorial above. If you have followed the instructions properly, your landscape file will be 1280 px wide x 1440 px high with the color image above the alpha channel. Each of those images are 1280 x 720 and are stacked atop one another.
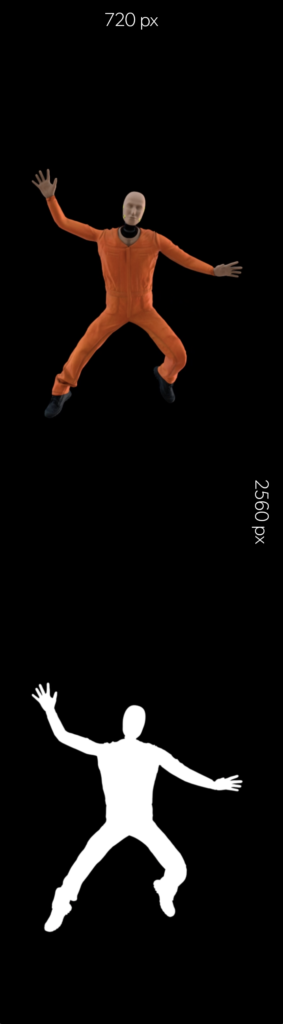
16. If you are producing a SizzleFX with a portrait orientation, the file will be 720 px x 2560 px.
17. Select the keyframe for object 1… skip this.
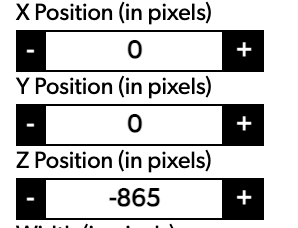
18. Position in pixels are set in default to the proper settings:
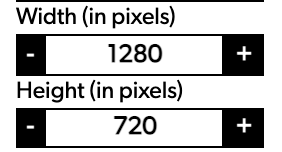
19. If your SizzleFX is landscape orientation, choose 1280 wide by 720 wide. If it is portrait orientation, then choose 720 px wide x 1280 high.
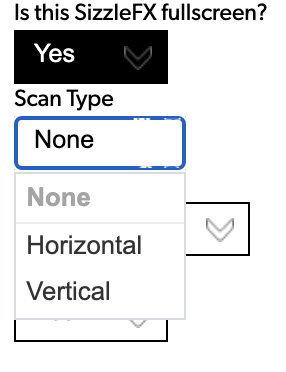
20. Is the SizzleFX fullscreen? If your subject matter touches the edge of the frame line, you should make your SizzleFX fullscreen.
Scan Type pertains to a SizzleFX that is triggered to respond to either a horizontal target, like a business card lying on a desk or a vertical target like a bottle of Gatorade. These orientations alert the app how to position your SizzleFX when the target triggers the augmented reality to start. For this tutorial, leave it set to None.
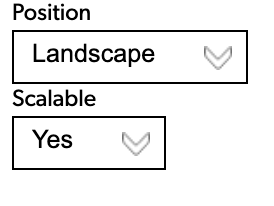
21. Position… choose Landscape or Portrait orientation of your SizzleFX.
22. Scalable…. if your SizzleFX does not touch a frameline, then you may choose to make it scalable, so that it may be oriented to the User’s satisfaction in their final composite. In this tutorial, we have chosen Yes.
If your SizzleFX is a single layer, hit Save, and you are done. It’s time to check and see what you have.
If your Sizzle is more than one layer, click Add New SizzleFX Layer, Click Part 2 Edit and repeat steps 16-22 again on as many layers as you have chosen to program.