Creating a SizzleFX is a fast and efficient way of creating augmented reality experiences with people and other motion visuals. To start, open Adobe After Effects and create a new project. If you are making a SizzleFX that orients Landscape, create a document that is 1280 px Wide and your Height is 1440 px.
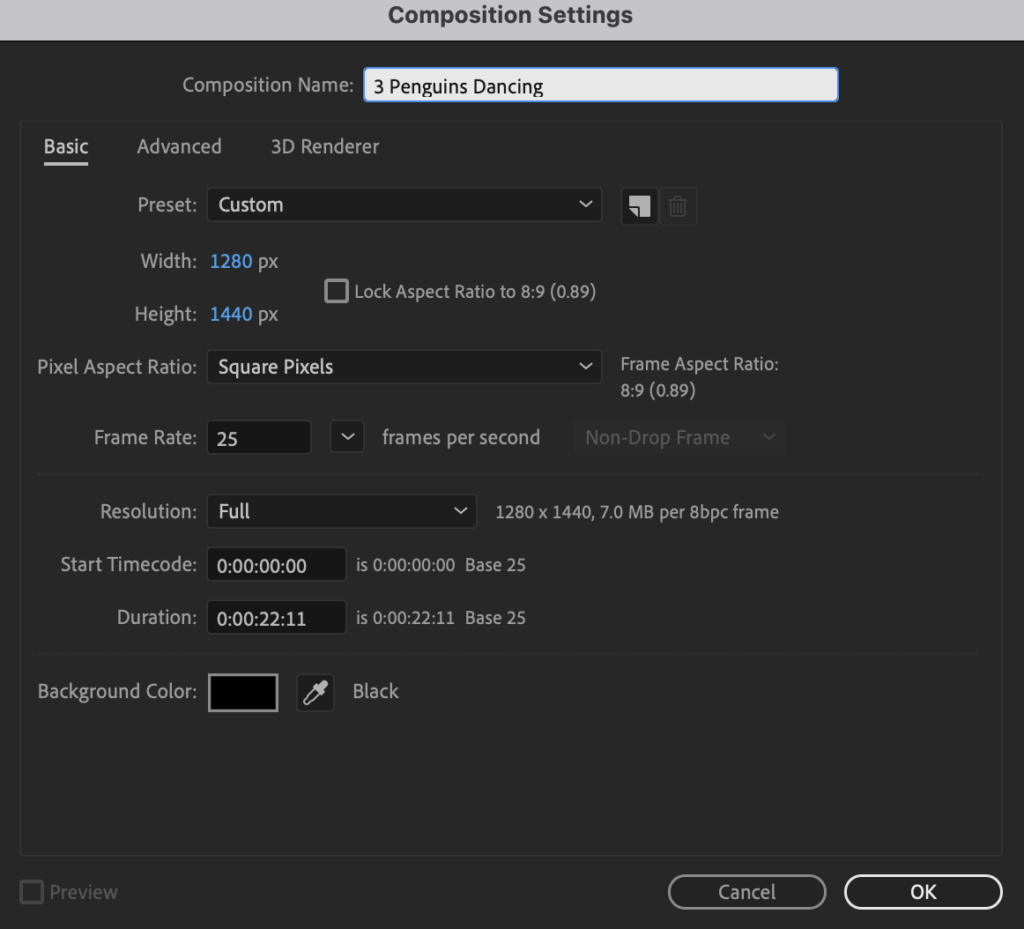
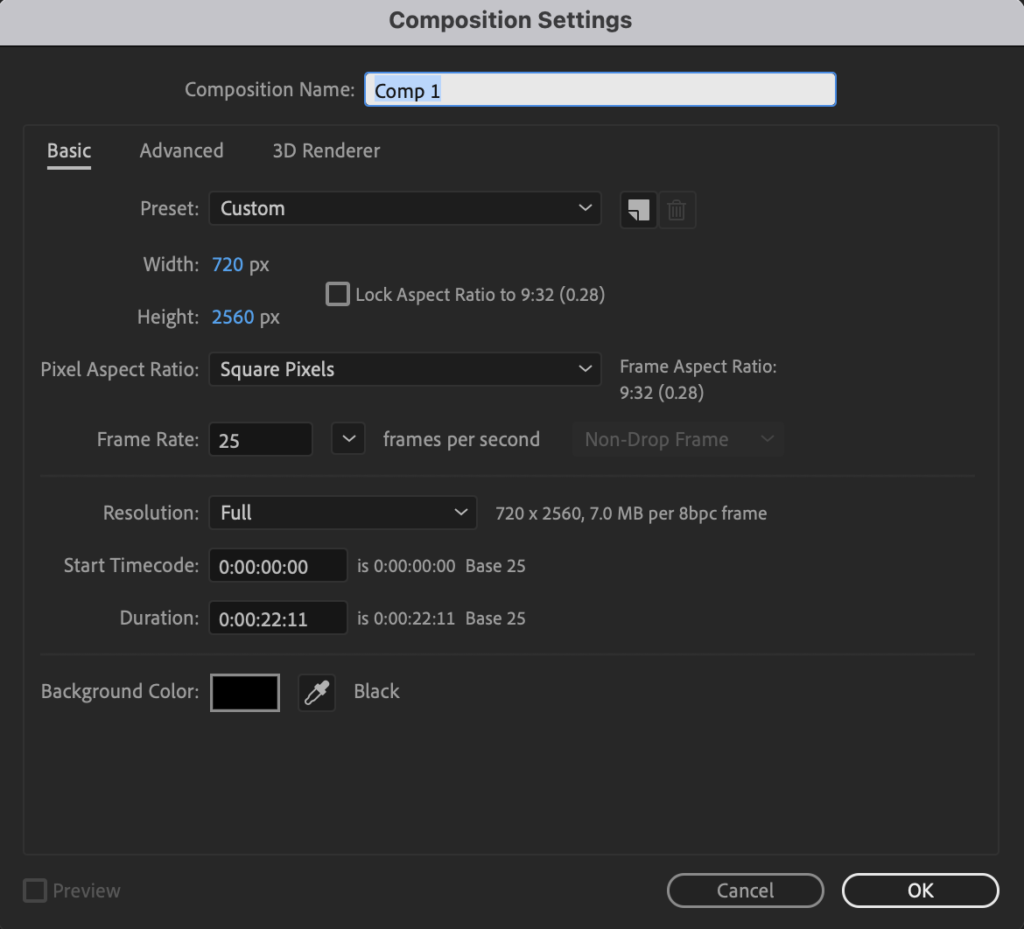
If you are making a SizzleFX that orients Portrait, your Width is 720 px and your Height is 1280 px.
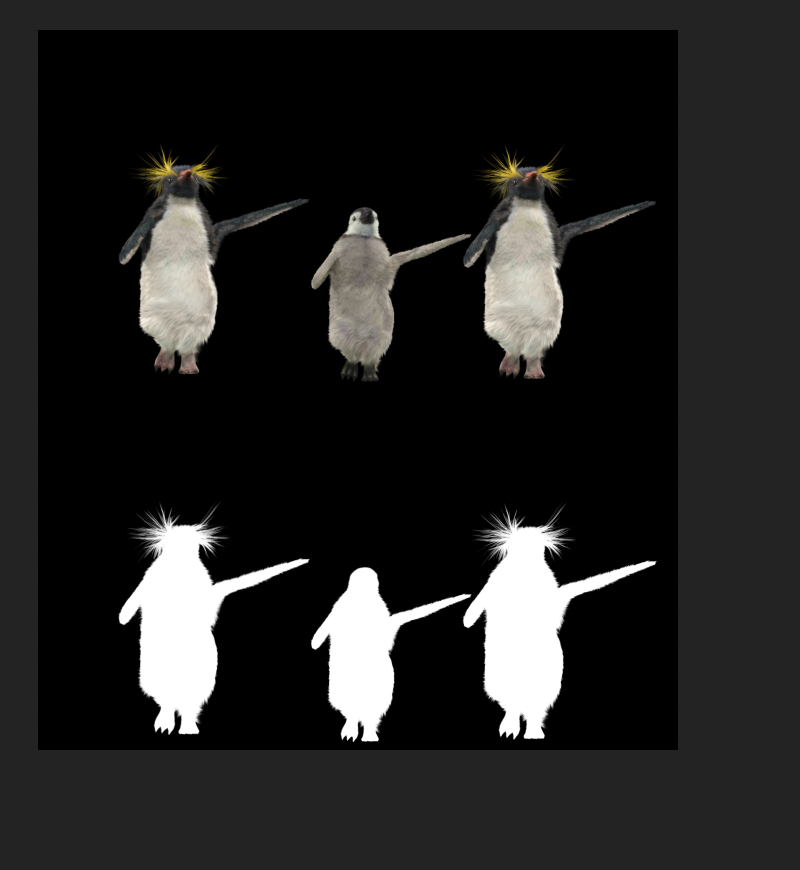
Next, import your video file and the accompanying alpha file. Each of these files will be 1280 Wide by 720 High for Landscape and they will be 720 Wide and 1280 High for Portrait.
First, drag the video into the upper half of the frame.
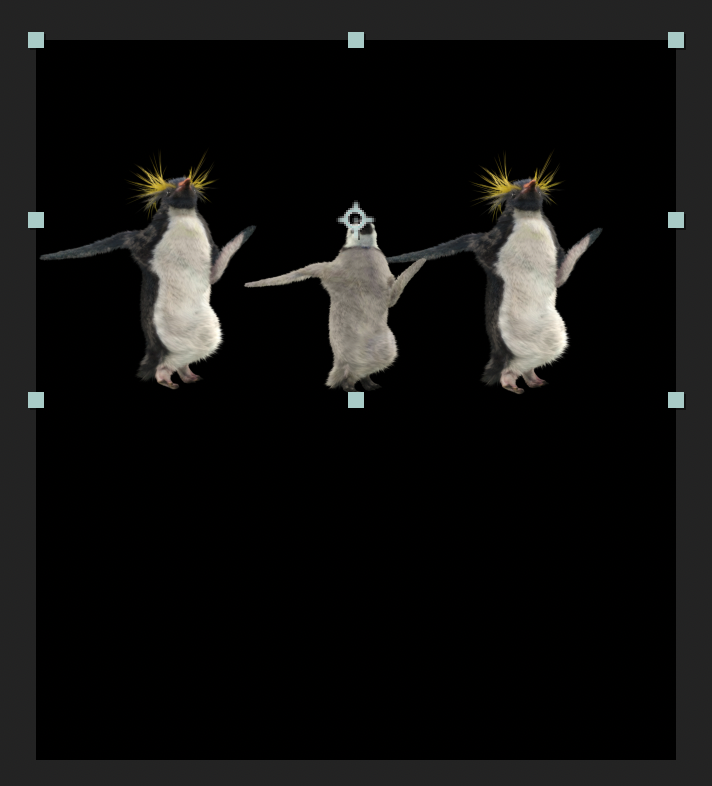
EXACT POSITIONING OF THE VIDEO IS CRITICAL. YOU MUST FOLLOW THESE STEPS PRECISELY.
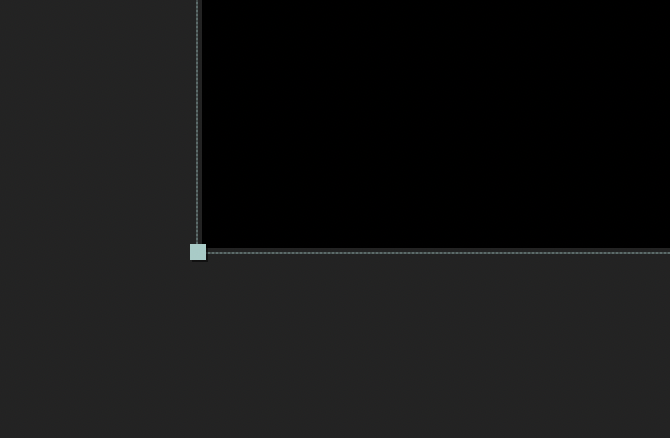
Zoom in as close as After Effects will allow on the upper left hand corner and click on the image so the frame line of the image is active.
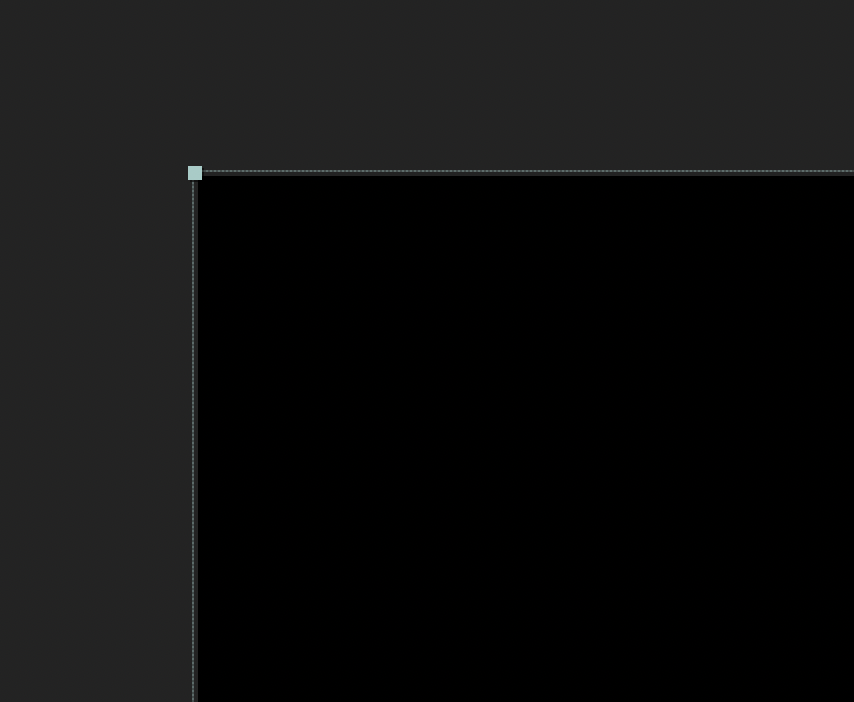
Using the down arrow key, click one click at a time until you get the frame line to go from showing to not showing. When the frame line does not show after one last click it is in the right position. Continue with the right arrow until the one last click where the active frame line disappears. Then the video is properly positioned.
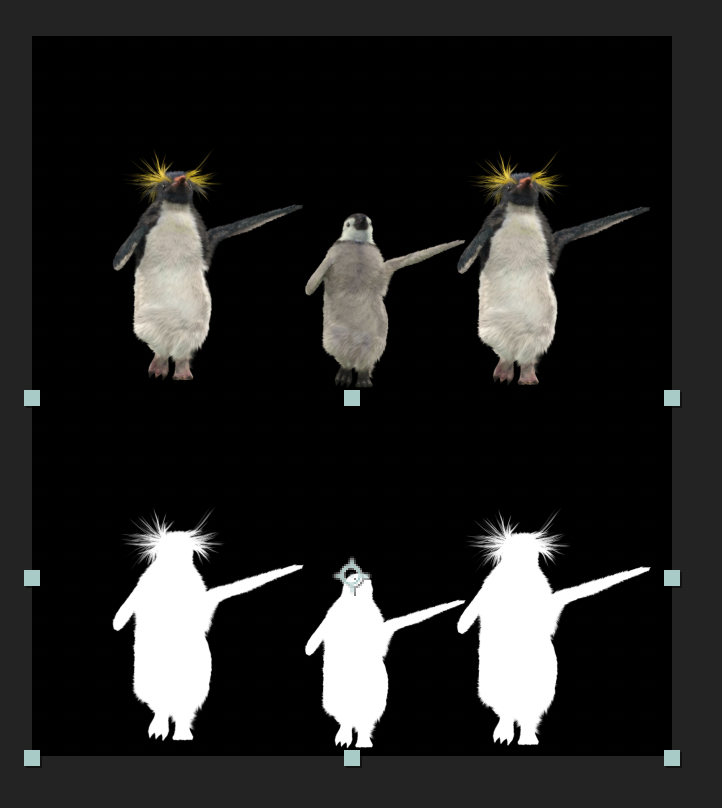
Now, drag the alpha video to the bottom half of this composition.
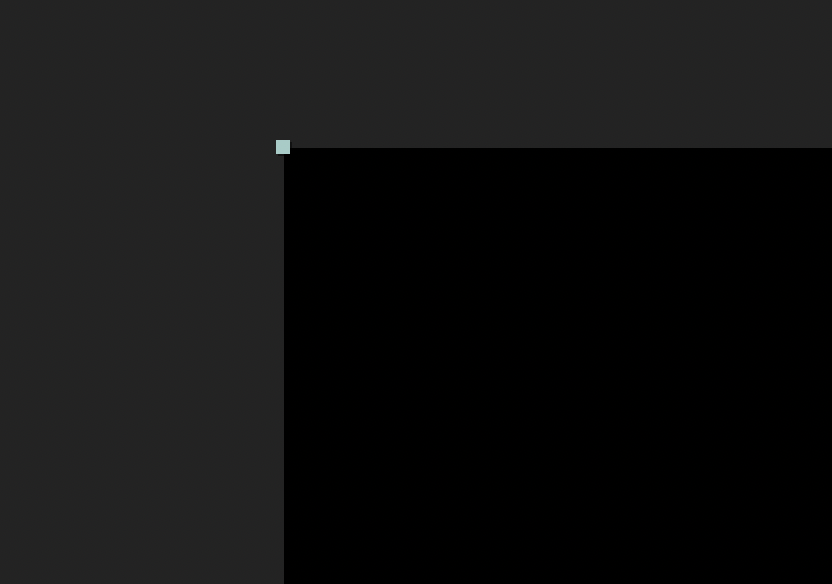
Then, do the same zoom in on the lower left corner to make the alpha matte fit exactly in position with the video image by using the arrow keys as instructed above.
Using the up arrow key and the right arrow key move the matte to the first click where the active frame line is not showing.
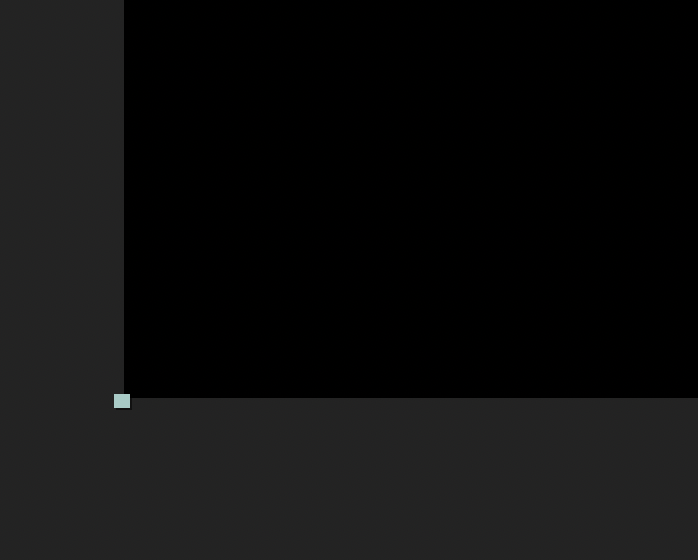
When both of your images are perfectly aligned, you can click on either one of them and the active frame line will not show on the outside perimeters of the composition.

Export the file by adding it to the render queue.
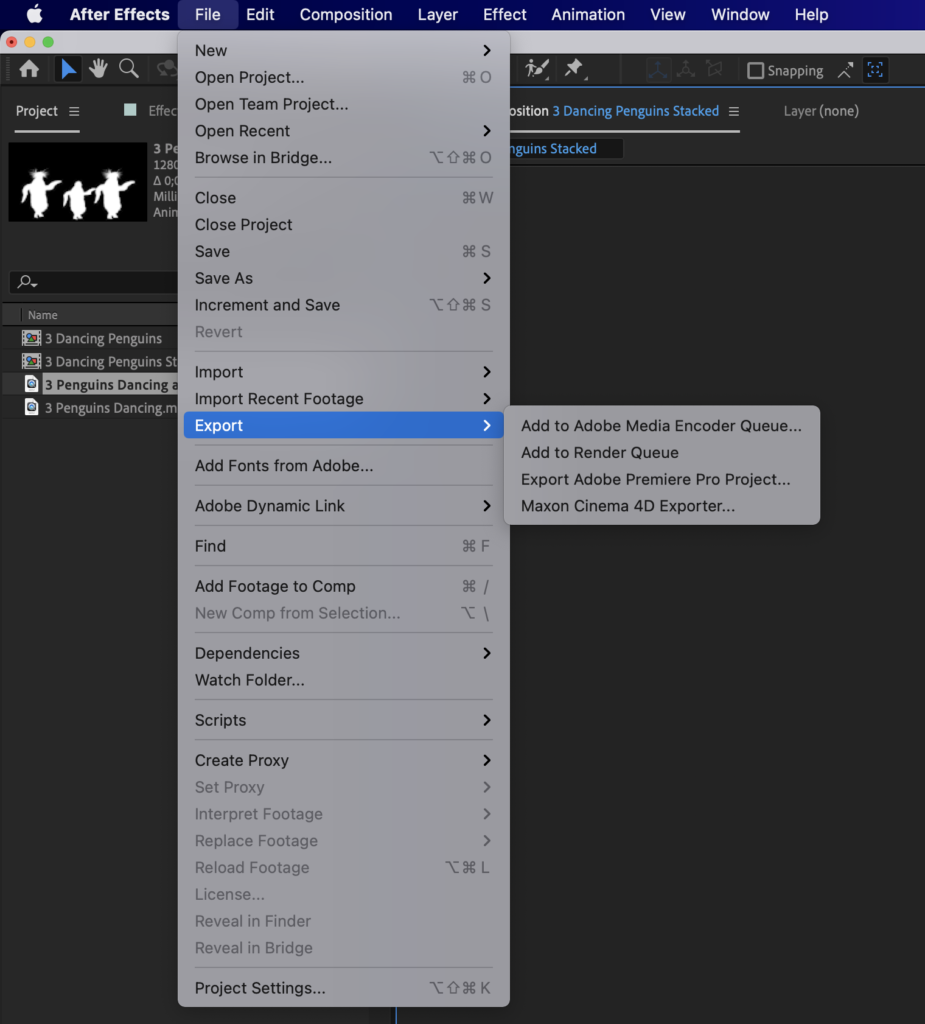
Pick a place on your hard drive to save your file and then the render queue appears.
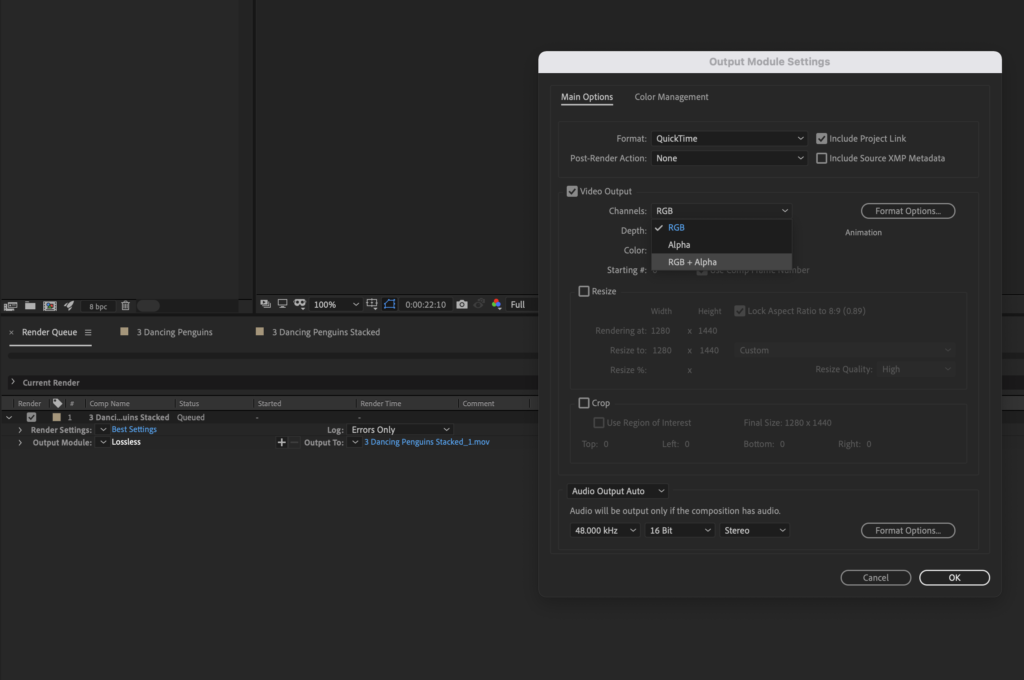
In the render queue, click on Lossless in the output module and in the pop up window, select RGB + Alpha. Then click OK. Your file will render and output a file that is either of the two dimensions mentioned at the start of this tutorial, depending upon whether you have produced a Landscape or Portrait oriented SizzleFX.
Now launch Adobe Premiere and add your audio track, if any. Create a new project as specified below:
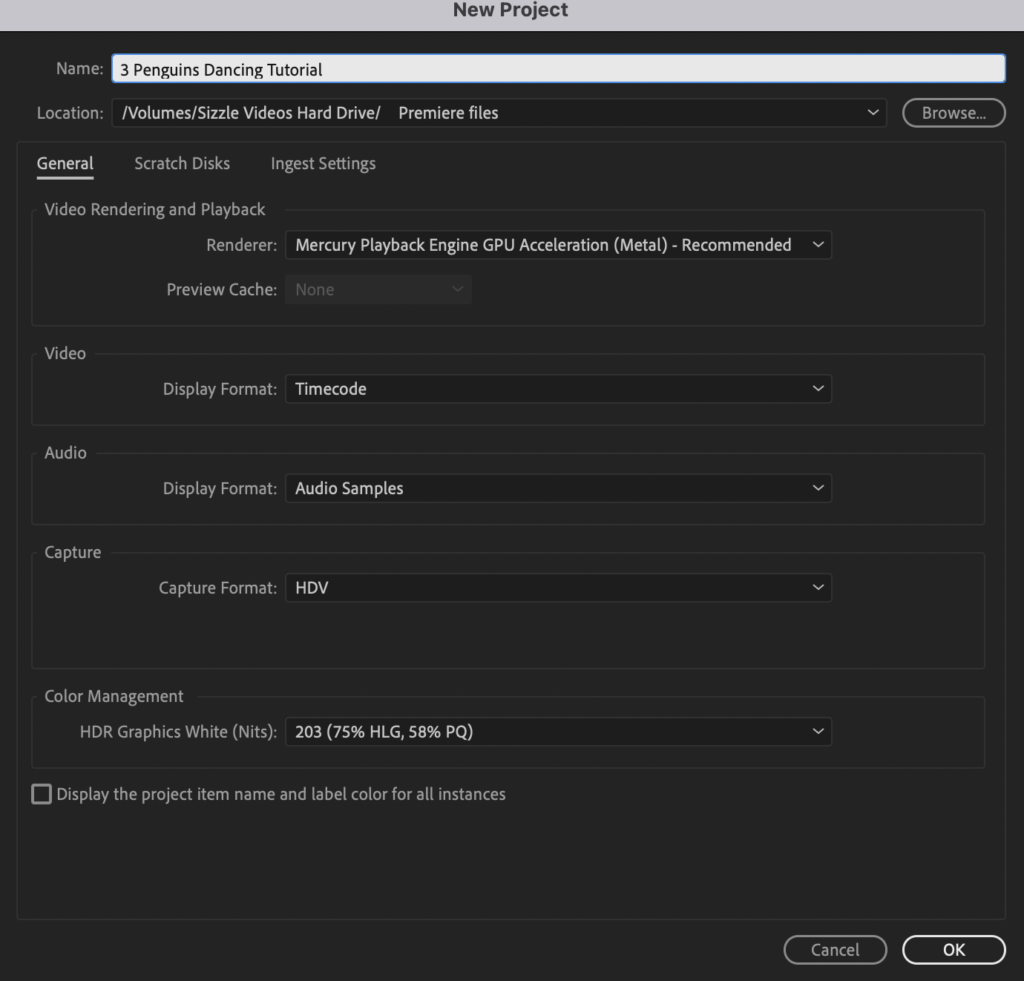
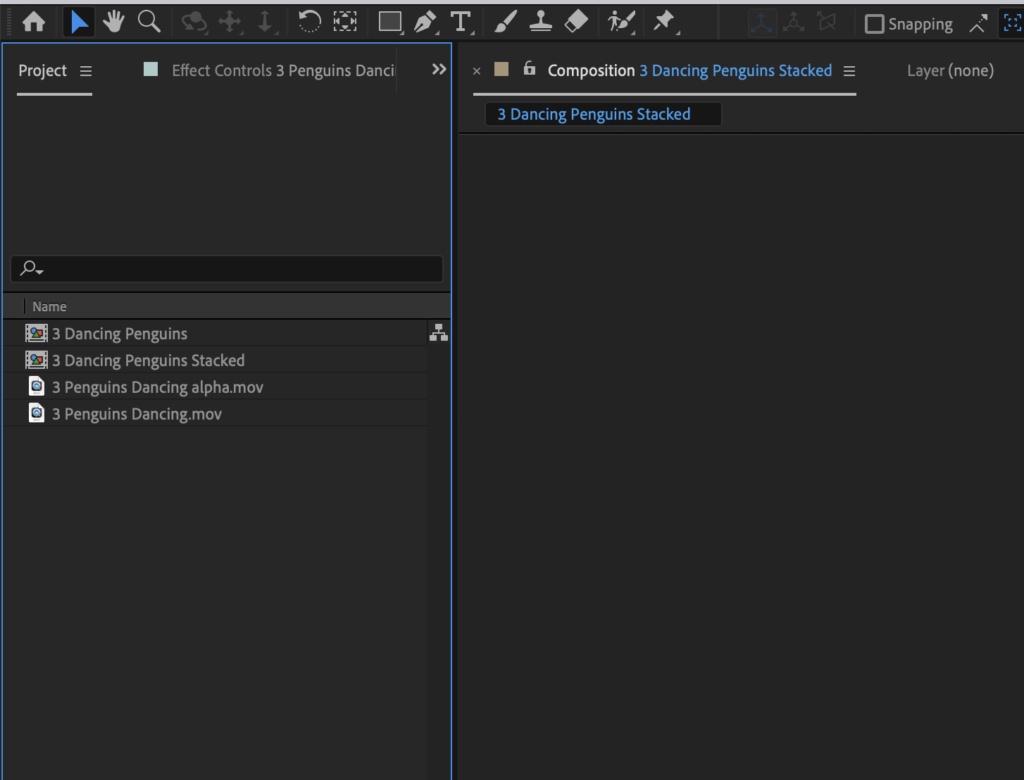
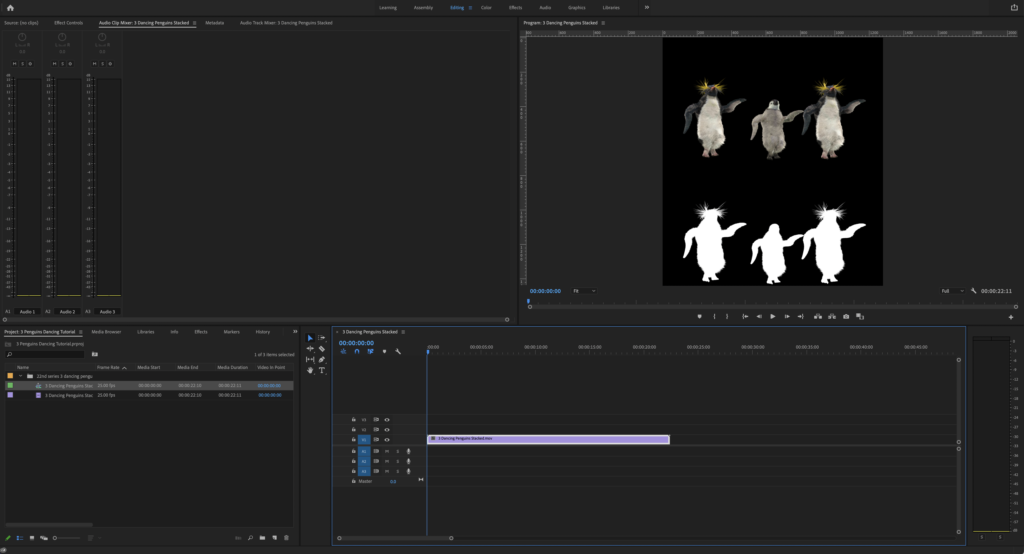
When you click OK, the project opens. Import your stacked video from your output from After Effects above, drag it into the time line. Premier asks if you want to use the specs from the clip you are dragging into the time line. Say OK and the clip will settle into the timeline as shown:
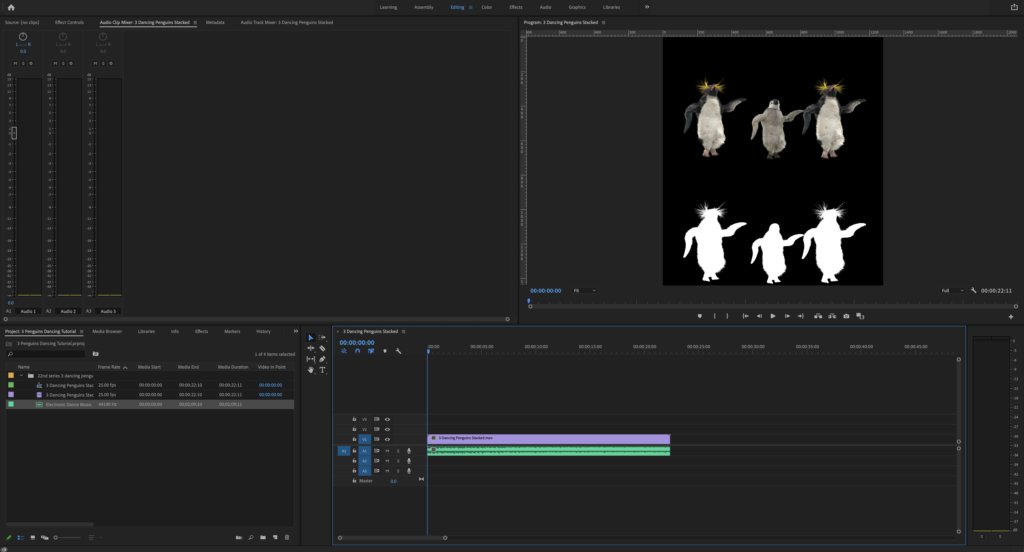
Import the audio file or files that you wish to use and drag them into the timeline, and adjust your audio mix.
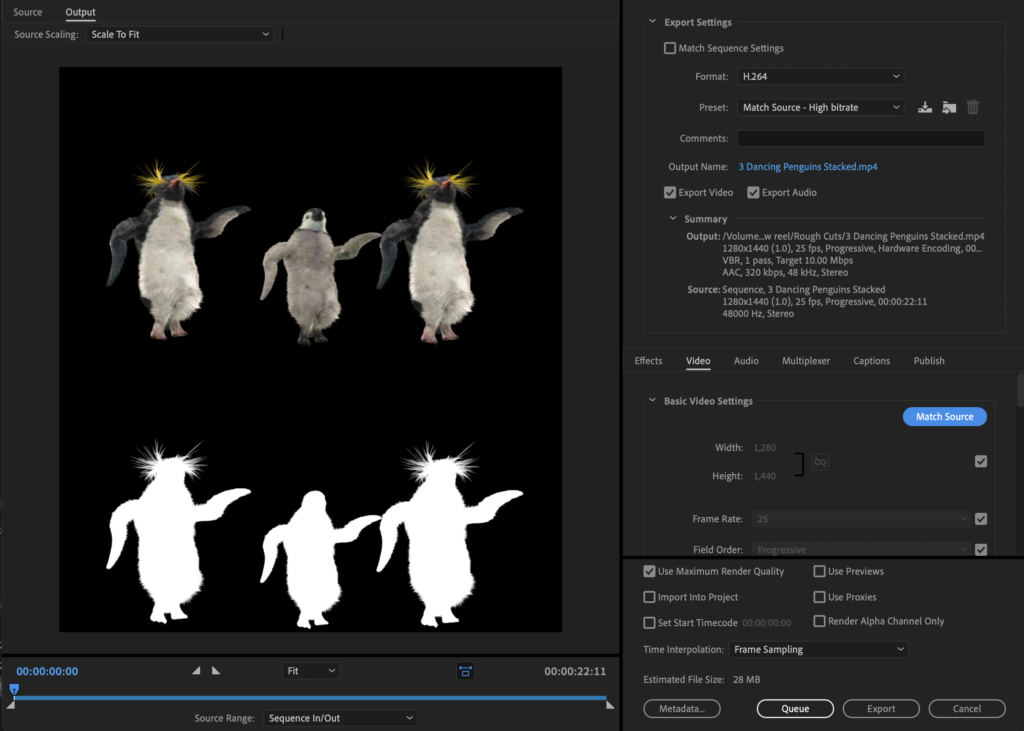
Match your output specs to those in the image below, then click Match Source and then click Export.
You will then want to take your file into a video compression platform of your choosing to get the bit rate of the video down to 4.0 mbps mp4 video. We use a system called Movavi, but you can use any that you wish as long as it is at 4.0 mbps and running in mp4 format.